Robofy AI Chatbot helps With the ability to offer various design options, including widget, embedded, and list view chatbots, you can enhance user engagement and provide a personalized experience to your visitors. In this guide, we will walk you through the steps to create embedded and list view chatbots for your website using Robofy AI.
Widget Chatbot Setup:
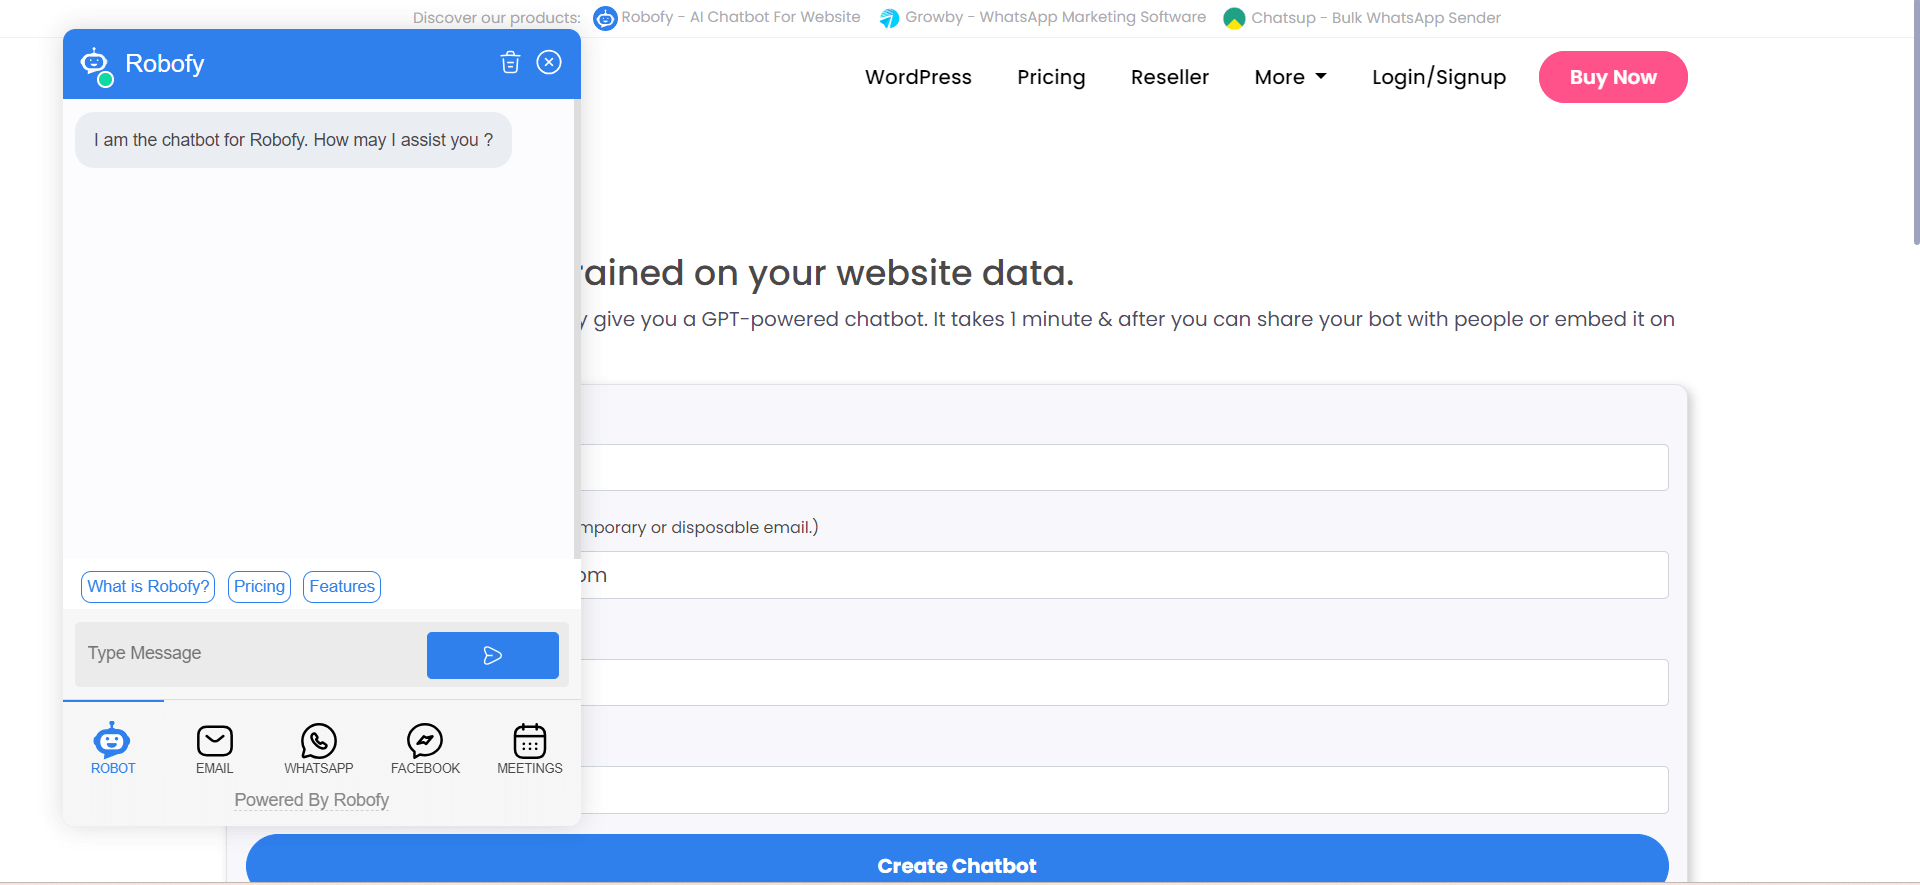
Widget chatbots are a great way to add an unobtrusive, yet easily accessible chat option to your website. Here’s how you can set up a widget chatbot:
1. Open your website’s HTML file and locate the footer section where you want to embed the chatbot.
2. Add the following code snippet within the footer section:
<div id="WindowAppBox"></div>
<script>
var script = document.createElement("script");
script.async = true;
script.id = "chatbotscript";
script.dataset.accountid = "YOUR_ACCOUNT_ID_HERE";
script.dataset.websiteid = "YOUR_WEBSITE_ID_HERE";
script.dataset.designType = "1";
script.src = "https://app.robofy.ai/bot/js/encChatWidgetView.js?v=" + new Date().getTime();
document.head.appendChild(script);
</script>
This code will initialize the widget chatbot on your website.
Embedded Chatbot Setup:
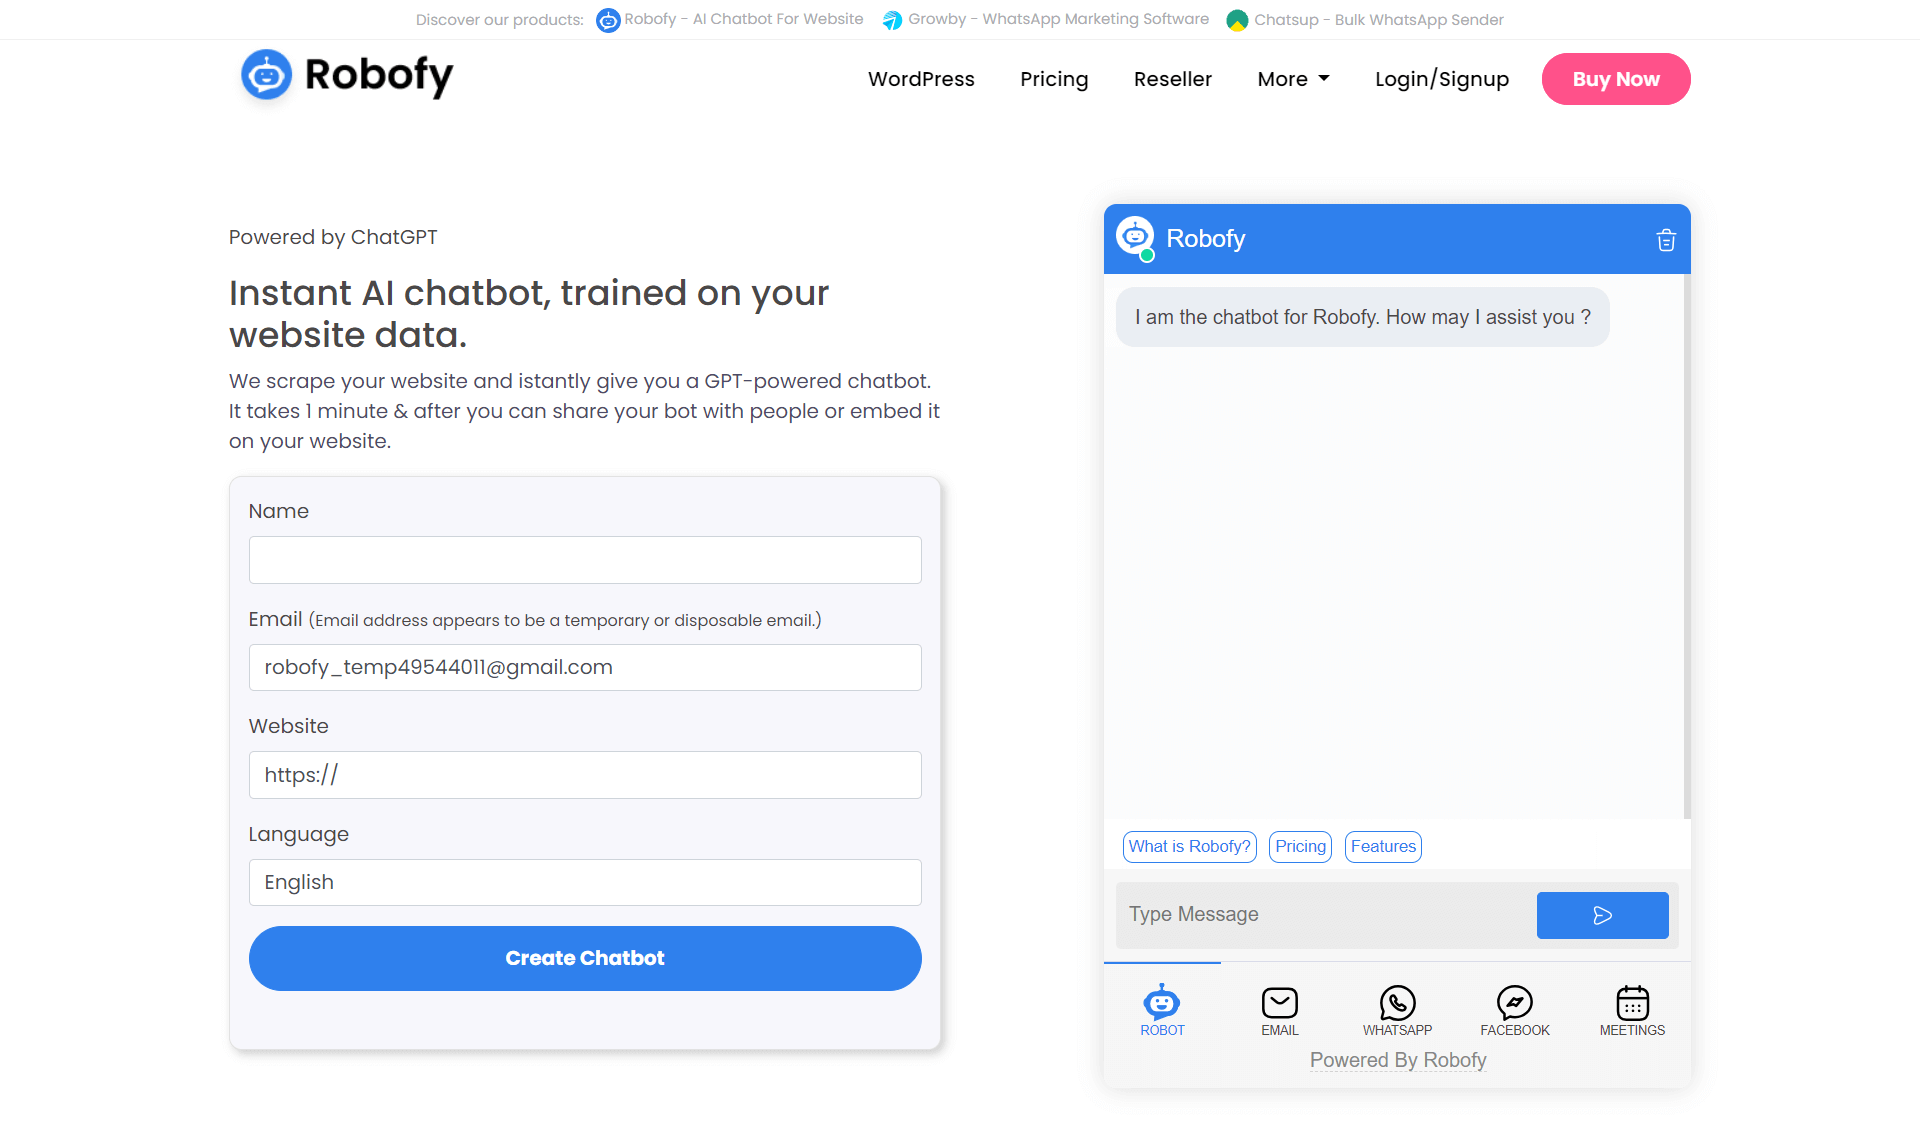
Embedded chatbots seamlessly blend into your website’s design, offering a more integrated user experience. Follow these steps to set up an embedded chatbot:
1. Open your website’s HTML file and locate the footer section where you want to embed the chatbot.
2. Add the following code snippet within the footer section:
<div id="WindowAppBox"></div>
<script>
var script = document.createElement("script");
script.async = true;
script.id = "chatbotscript";
script.dataset.accountid = "YOUR_ACCOUNT_ID_HERE";
script.dataset.websiteid = "YOUR_WEBSITE_ID_HERE";
script.dataset.designType = "2";
script.src = "https://app.robofy.ai/bot/js/encChatWidgetView.js?v=" + new Date().getTime();
document.head.appendChild(script);
</script>
This code will initialize the embedded chatbot on your website, seamlessly integrating it into the design.
List View Chatbot Setup:
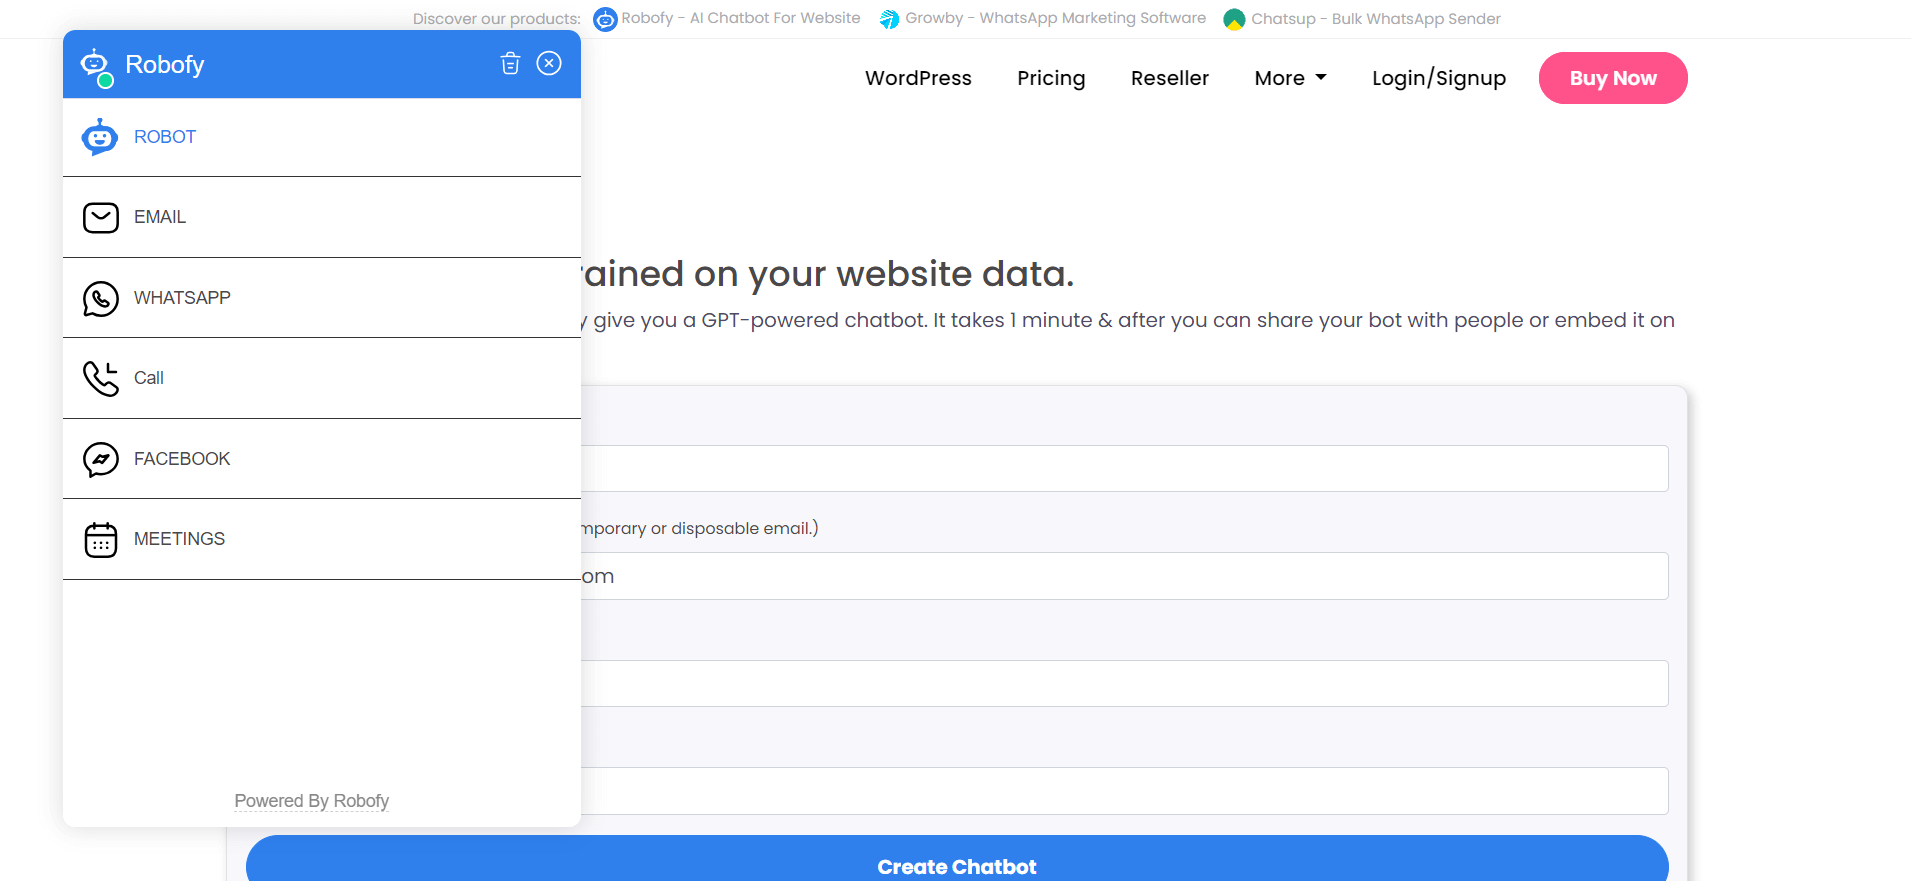
List view chatbots offer a compact way to present chat options, making it easy for users to engage with your AI assistant. Here’s how to set up a list view chatbot:
1. Open your website’s HTML file and locate the footer section where you want to embed the chatbot.
2. Add the following code snippet within the footer section:
<div id="WindowAppBox"></div>
<script>
var script = document.createElement("script");
script.async = true;
script.id = "chatbotscript";
script.dataset.accountid = "YOUR_ACCOUNT_ID_HERE";
script.dataset.websiteid = "YOUR_WEBSITE_ID_HERE";
script.dataset.designType = "3";
script.src = "https://app.robofy.ai/bot/js/encChatWidgetView.js?v=" + new Date().getTime();
document.head.appendChild(script);
</script>
This code will initialize the list view chatbot on your website, providing users with a compact and user-friendly chat interface.
Robofy AI Chatbot offers versatile design options to cater to your website’s needs, whether you prefer a widget, embedded, or list view chatbot. By following the simple steps outlined above, you can effortlessly integrate Robofy’s AI capabilities into your website, enhancing user engagement and providing valuable assistance to your visitors. So, why wait? Give your website a chatbot makeover and elevate the user experience today!
Note: Do not use multiple instances of the above snippet code because “use strict” is enabled in our JS file.


