Using google tag manager it is very easy to integrate chatbot with website. Below is the step-by-step guide following which you can easily integrate chatbots within minutes.
Contents
Set up a Google Tag Manager account
If you haven’t done so already, create a Google Tag Manager (GTM) account at https://tagmanager.google.com/. Sign in using your Google account and follow the instructions to set up your GTM container.
Obtain the chatbot integration code
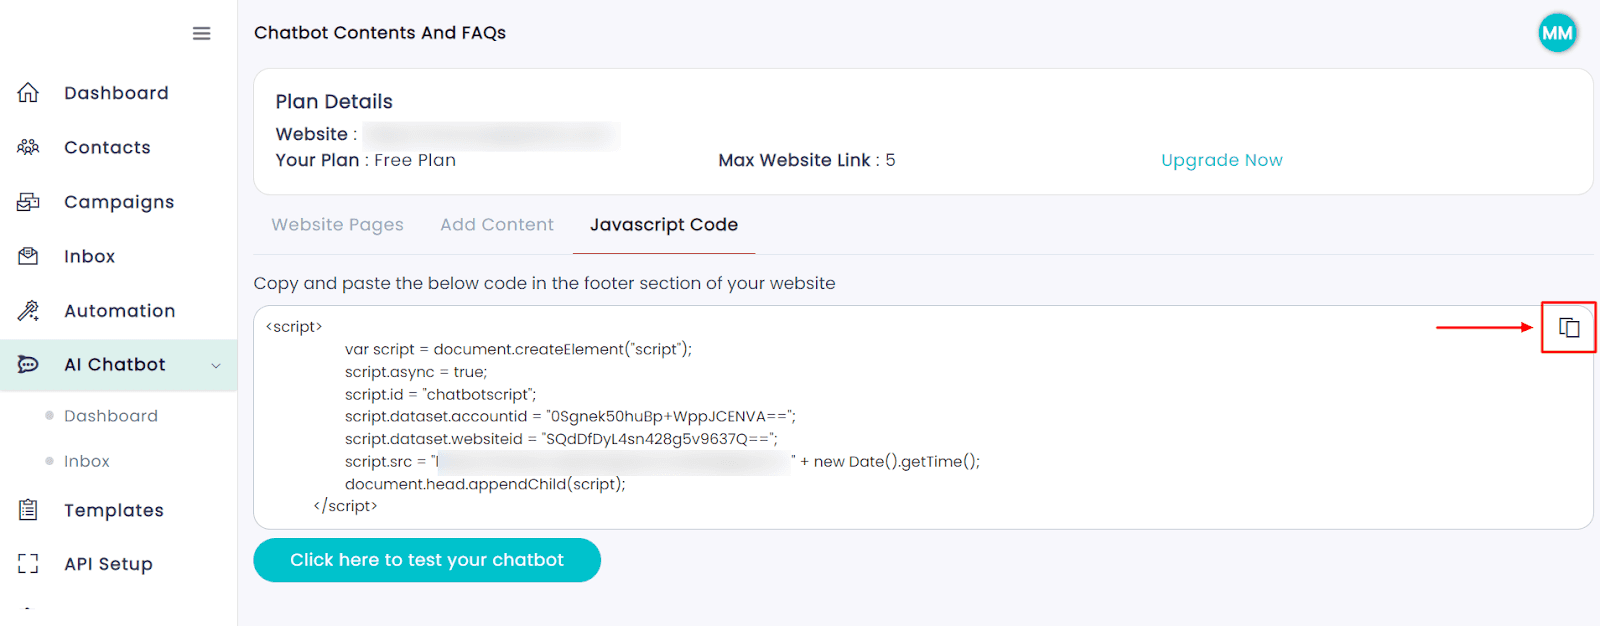
After crawling your website’s content and configuring the chatbot in the dashboard, you should receive a code snippet that needs to be integrated into your website. You can find the code when you click “Your chatbot is ready“.
After clicking, you will be redirected to the window where you will see the code, and the option to test the chatbot as well. Copy the code by clicking the top right “copy” icon as indicated in the image below.
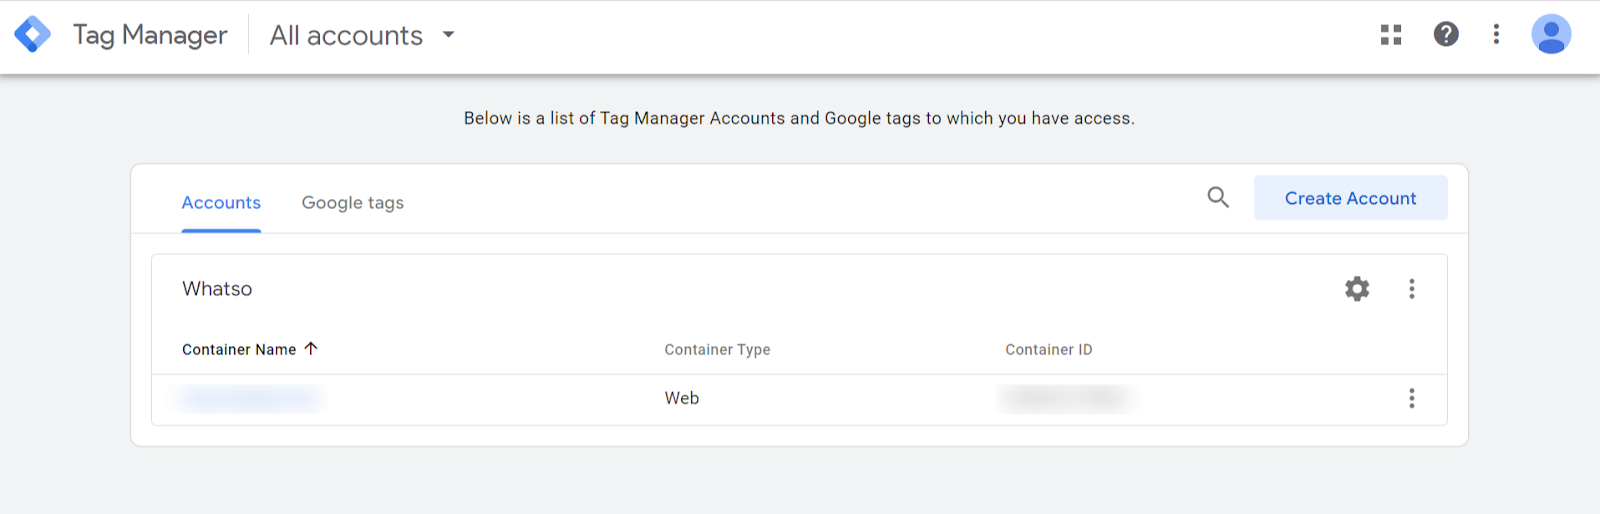
Log in to Google Tag Manager
Access your Google Tag Manager account and select the container ( your website ) where you want to integrate your chatbot
Create a new Tag
Inside your GTM container, click on “Tags” in the left-hand navigation menu. Then click the “New” button to create a new tag.

Configure the Tag settings
Give your tag a descriptive name, such as “Chatbot Integration”. Click the pencil icon on the top right corner in the “Tag configuration”.
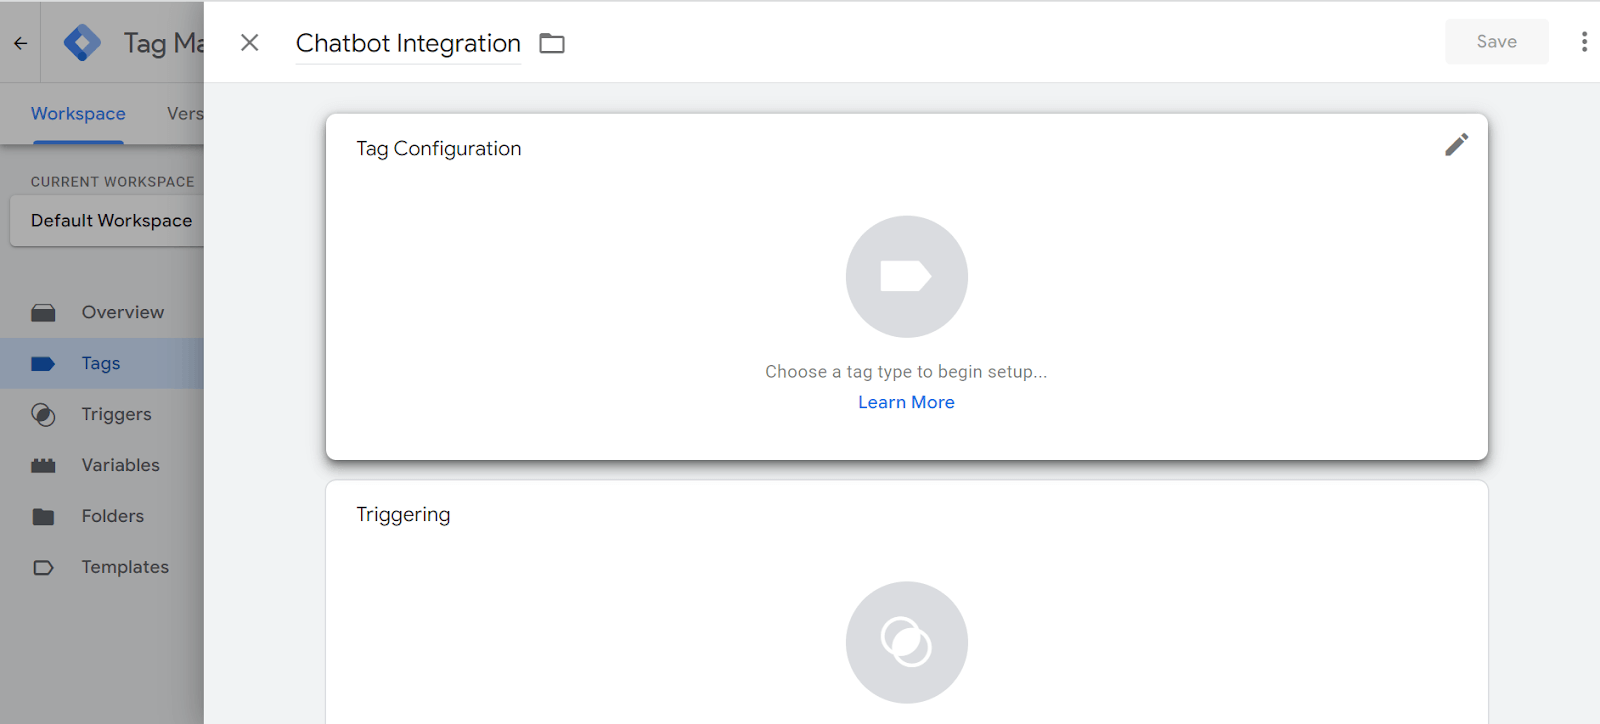
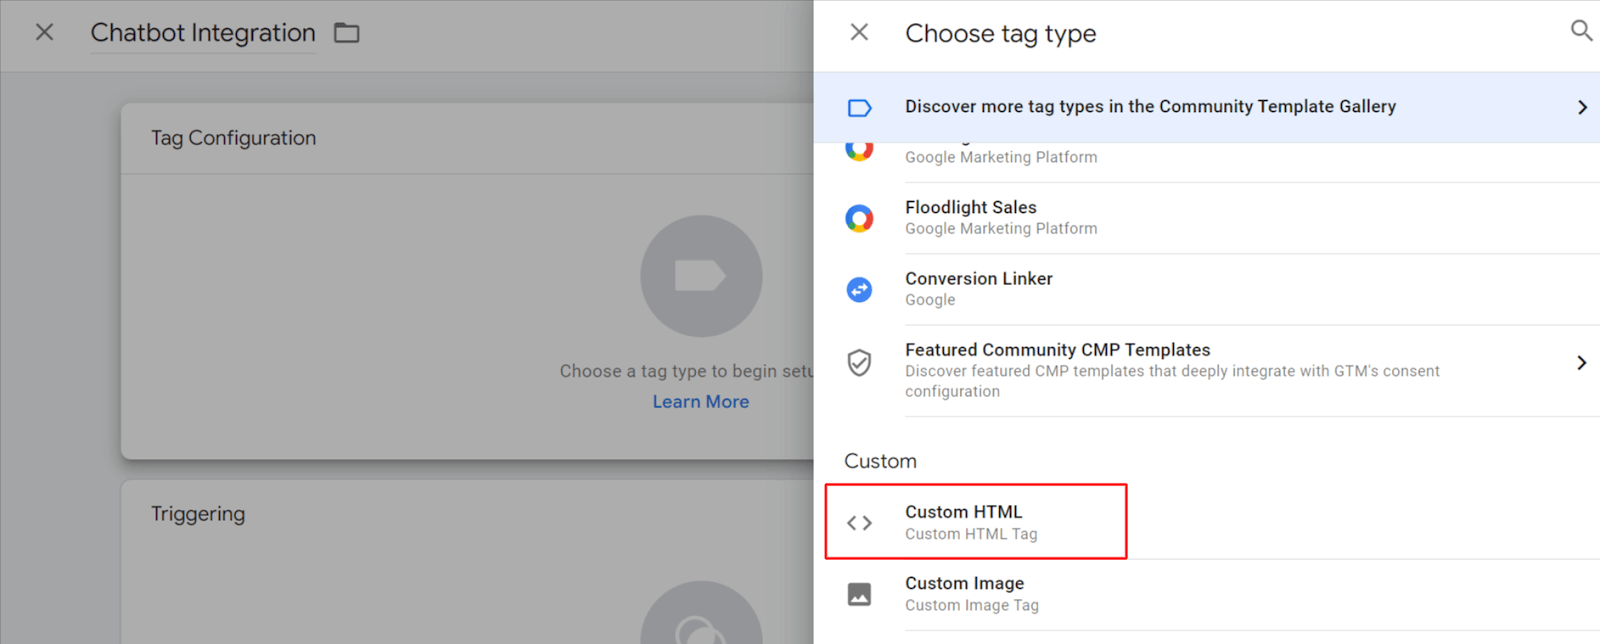
Now, under “Choose a tag type to begin setup” select the “Custom HTML” tag type.
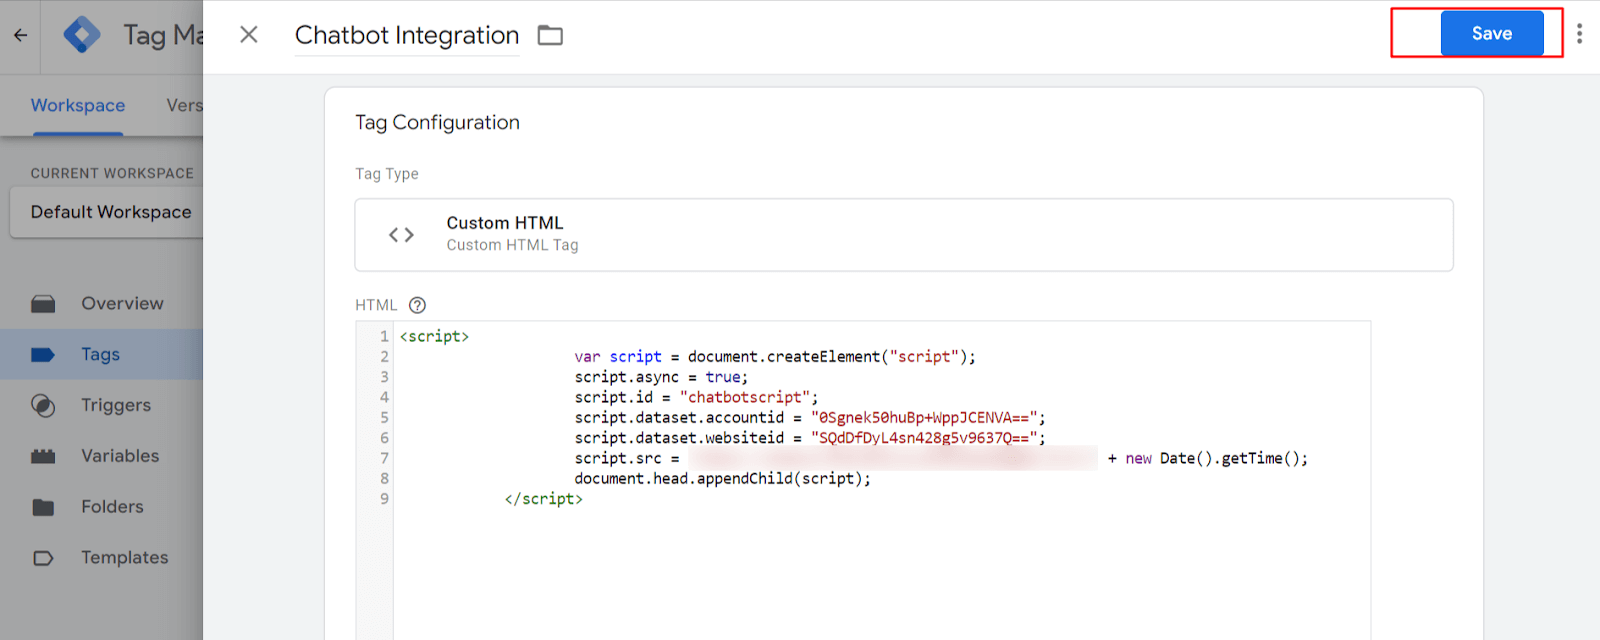
Paste the chatbot integration code
Paste the code that you copied in Step 2 in the “HTML” field and click save.
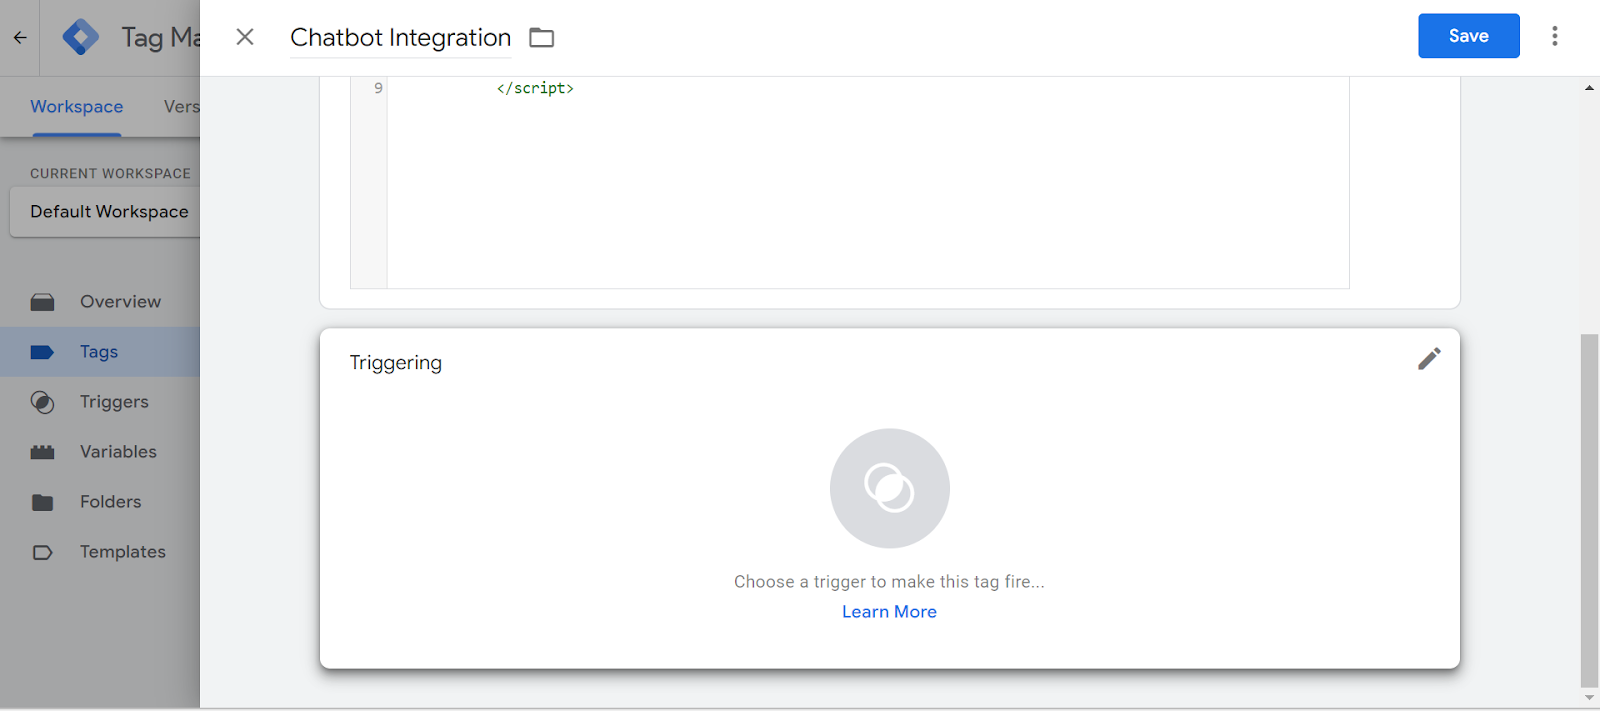
Specify the trigger
To control when the chatbot loads on your website, you need to specify a trigger. Click on the “Triggering” section in the tag configuration. Click on the pencil icon in the “triggering” section.
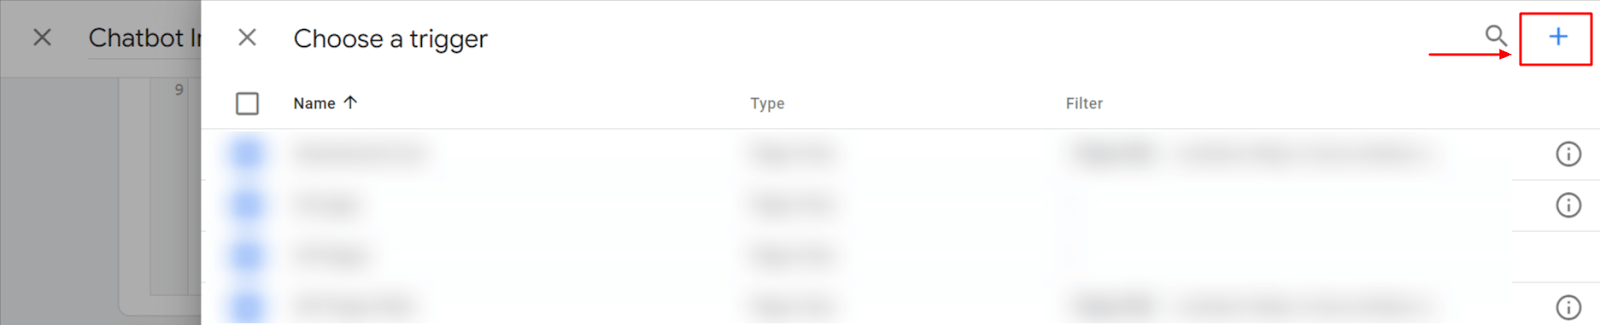
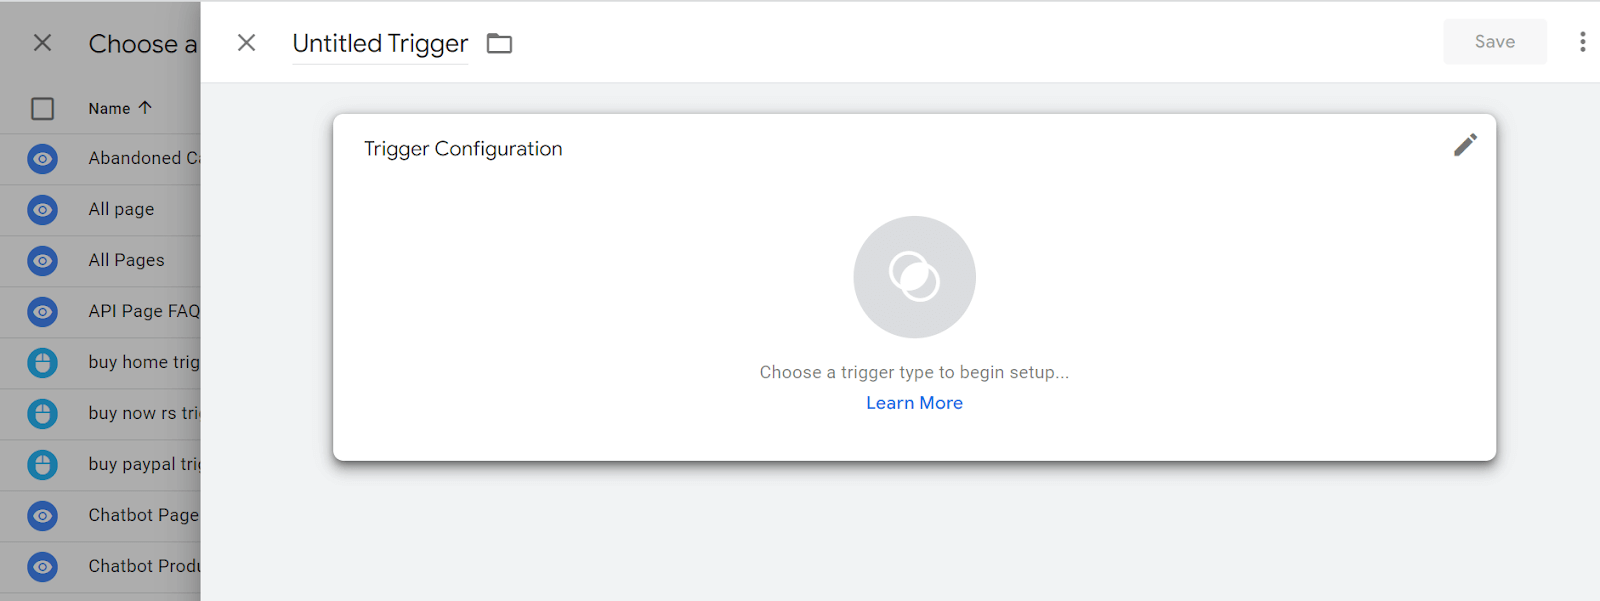
After clicking the pencil icon, click on the “ + “ sign to add a new trigger
Now click on the pencil icon on the “trigger configuration”
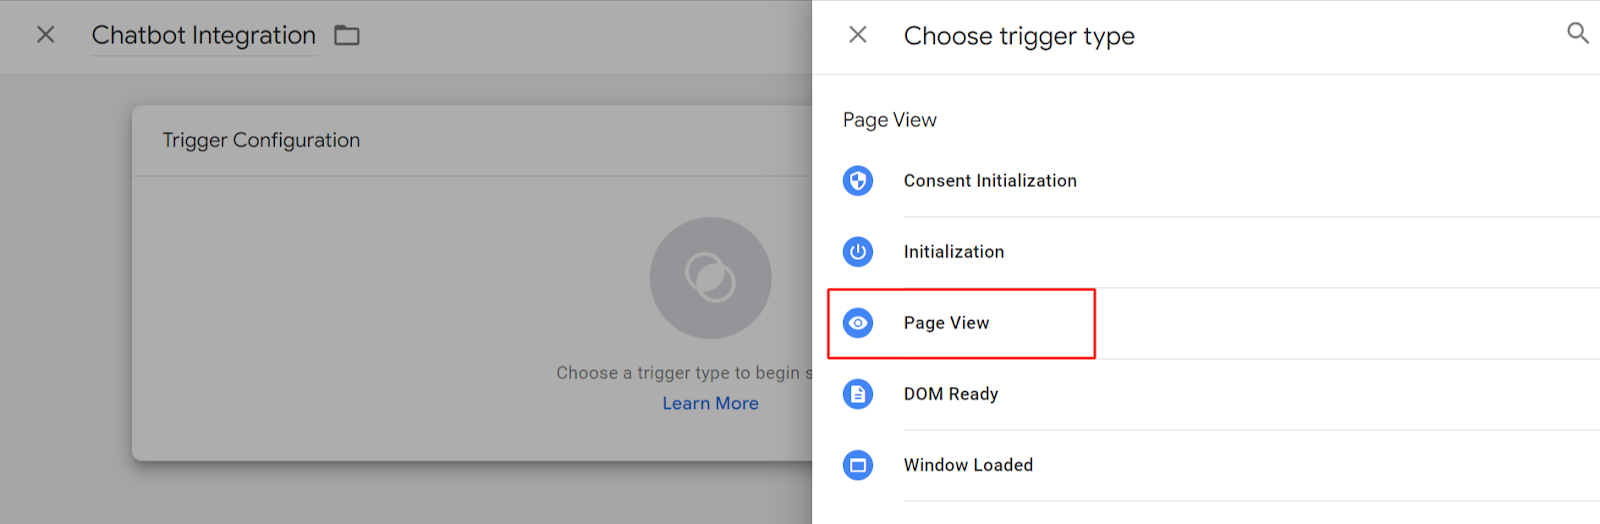
Now select “Page View“
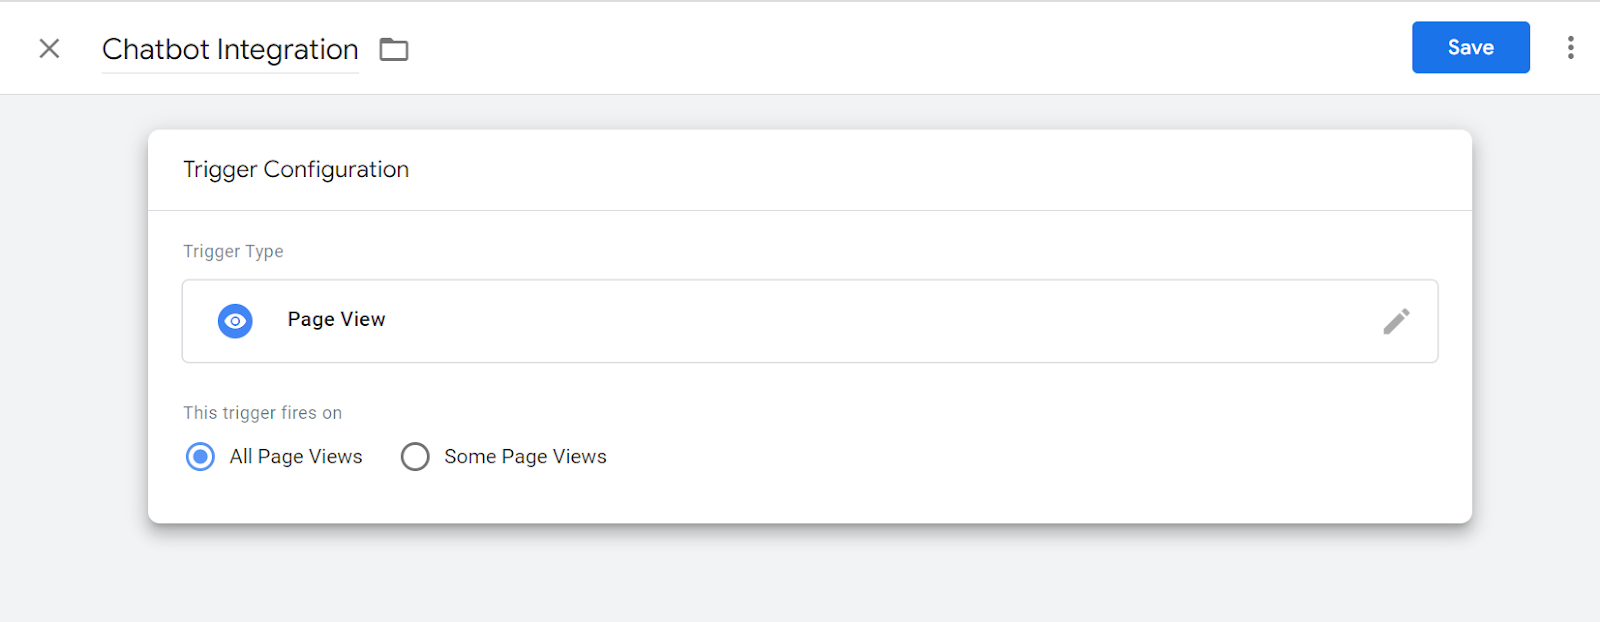
Set the trigger to fire on all pages
If you want the chatbot to appear on every page of your website, select the trigger type “All Pages” or “Page View” (depending on your GTM version). This ensures that the chatbot loads consistently across your entire website.
Save the tag
Once you’ve configured the tag settings and specified the trigger, click the “Save” button to save your changes.
Publish the changes
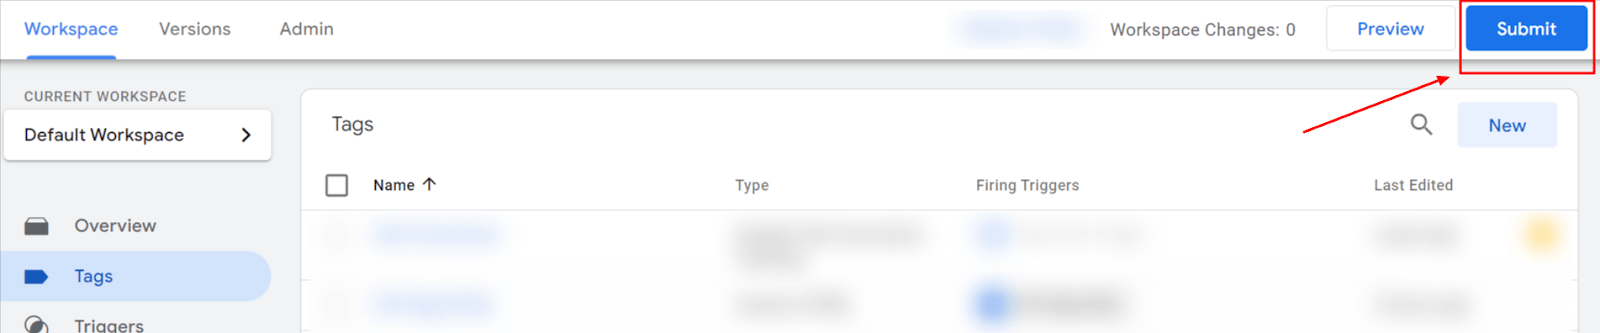
To make your chatbot integration live, click on the “Submit” button at the top right of the GTM interface. This will open a dialog where you can review the changes. If everything looks correct, click “Submit” again to publish the changes.
After Submitting, you will be able to see the chatbot on your page within minutes.
That’s it! You have successfully integrated your AI-powered chatbot using Google Tag Manager. Make sure to periodically review and update the chatbot configuration in your chatbot dashboard as needed.


